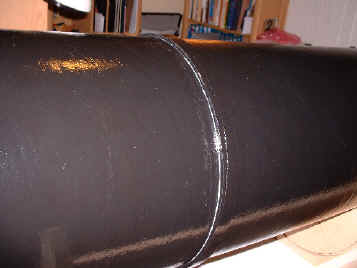
The Tube
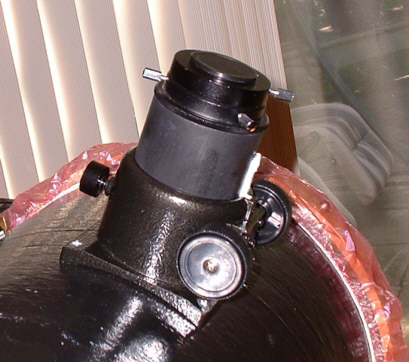
We began by ordering the optics from Orion, a 10" primary and a 2.1" minor axis secondary. The concrete-form-tube was ordered from our local building center. After stripping the wax-like paper from inside the tube it was cut to length and painted with ultra-flat black spray paint on the inside and gloss black on the outside. Tip: save the excess tube as a template for measuring the cradle and anything else you would like to test, such as focuser placement and end-ring size. The focuser was also purchased from Orion, a two inch rack-and-pinion. It's a decent focuser but with one problem; the draw tube comes in bright chrome, not something you want infringing on the light path! I disassembled the focuser and painted the draw tube a flat black. Begin by sanding, cleaning, and then heating the draw tube in the oven at about 210 degrees for 20 minutes. Give it a few coats of paint and then bake it at the same temp for about an hour (make sure you have plenty of ventilation for this!). Wet sand the tube until it is very smooth, otherwise the focus will not be smooth. I used white lithium grease (in tube and pencil form) for the lubricant. Update: Painting the drawtube flat black wasn't the best idea. Since the drawtube infringes on the inside of the OTA when racked all the way in, I didn't want it to scatter incoming light. However, this focuser needs the drawtube to be very, very smooth in order for it to have a smooth mechanism. I solved the problem by buffing the drawtube on a buffing wheel with tripoli. Now it's smooth as glass and almost as reflective. It certainly isn't "flat" black but at least it isn't chrome. I think it's time to save for a Crayford :-)
Notice the "Saran Quick Cover", I use these as dust caps at both ends of the OTA.
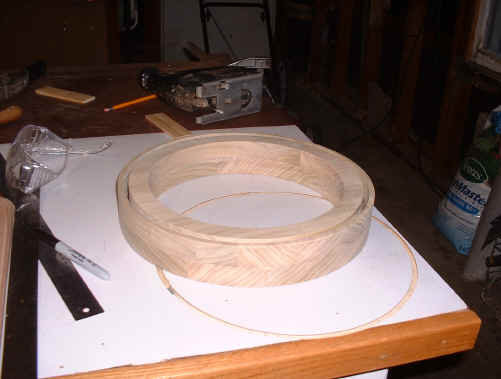
Mirror Cell and End RingsThis is a simple plywood mirror cell, although I opted for MDF for it's stability and inexpensive price. The end rings were cut from poplar and finished with a few coats of Spar Urethane. As you can see, I combined the mirror cell with the bottom end ring, making a strong, easy to use, removable mirror cell. The mirror cell design was taken from The Dobsonian Telescope by David Kriege and Richard Berry. There is a brief chapter outlining the building of an 8" scope.
Bottom end ring, ready for urethane.
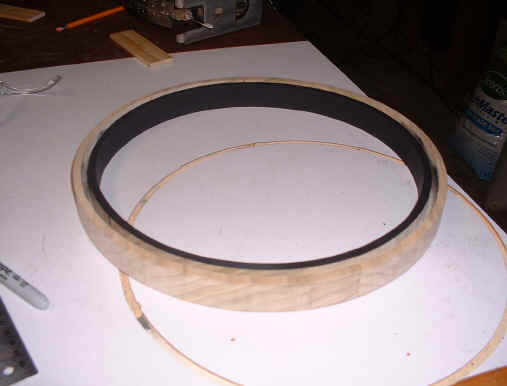
The top ring was painted flat-black on the inside and inside-bottom before the urethane finish was applied to the non-painted surfaces. Notice the circular cut in my work table? I wonder how that happened :-) Watch the depth of cut you use with your router.
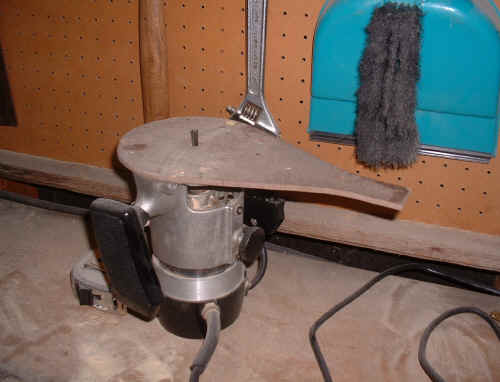
Simple router jig used to cut end rings, and mirror cell parts.
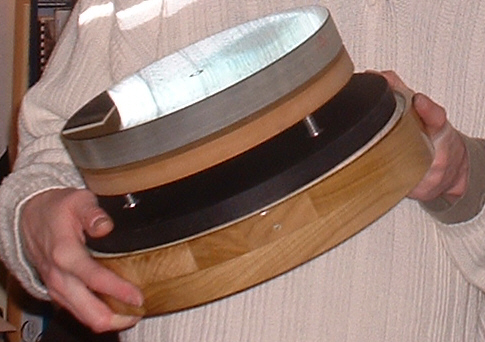
The finished combination end ring / mirror cell with mirror attached. If you decide to use wood for your end rings, don't forget to allow for expansion and contraction of the wood as it acclimates to its environment.
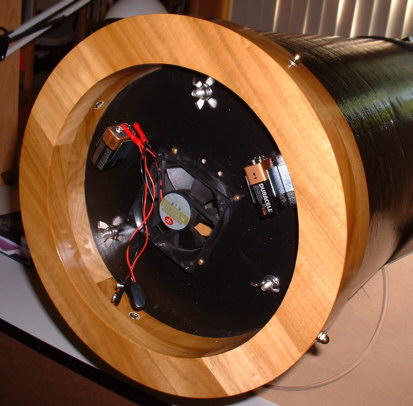
Here is a photo of the rear of the cell with a muffin fan and batteries installed. The battery holders were purchased at Radio Shack for a couple of bucks. When connecting the batteries, you will need to decide if you want power or longevity. If you connect the two grounds together and to the ground wire of the fan and the two positives together and to the positive of the fan, it will run much longer but with less rpm than if you connect the ground of one battery to the positive of the next.
|